
VSCode
Overview
Visual Studio Code is a popular AI code editor by Microsoft.
Restrictions on use
Please ensure you read, understand and comply with the VSCode licensing terms and conditions.
Set up procedure
To use/access the software you must load any ONE of the available modulefiles:
module load apps/binapps/vscode/1.109.2       #Recommended version
module load apps/binapps/vscode/1.48
Interactive development using VSCode
To do interactive development in CSF3 using VSCode you need to run VSCode server in an interactive job.
Before you do that, you should first install necessary components for your software development in your account. For example, if you intend to work with Tensorflow, you need to first installTensorflow in a virtual environment. Once that is ready, you should then be able to select that as your code interpreter in VSCode.
Steps that you should follow for interactive development.
STEP 1: Start an interactive CPU or GPU job.
#Interactive CPU Job
srun -p interactive -n 4 -t 0-1 --pty bash

#or

#Interactive GPU Job
srun -p gpuL -G 1 -n 1 -t 0-1 --pty bash
STEP 2: Load VS Code module and run VS Code Server
module load apps/binapps/vscode/1.109.2
code tunnel
#or
code tunnel --accept-server-license-terms
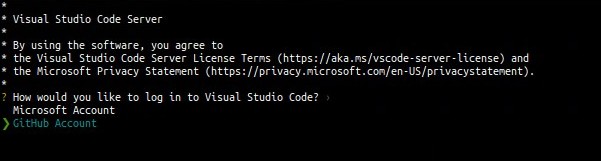
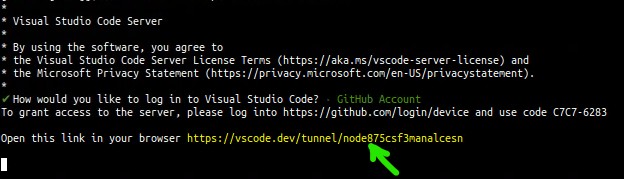
The Visual Studio Code Server will start running in the compute node where your interactive job is running. It will prompt you to select the Account using which you would like to log in to the VSCode interface.
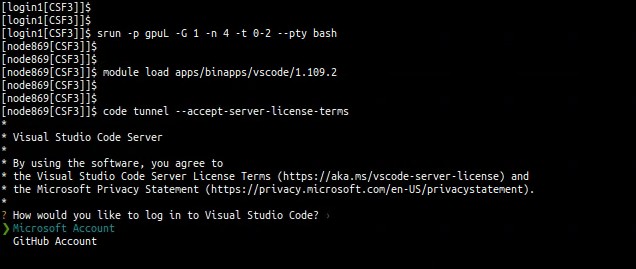
Select your preferred option using UP and DOWN arrow keys and then hit ENTER.
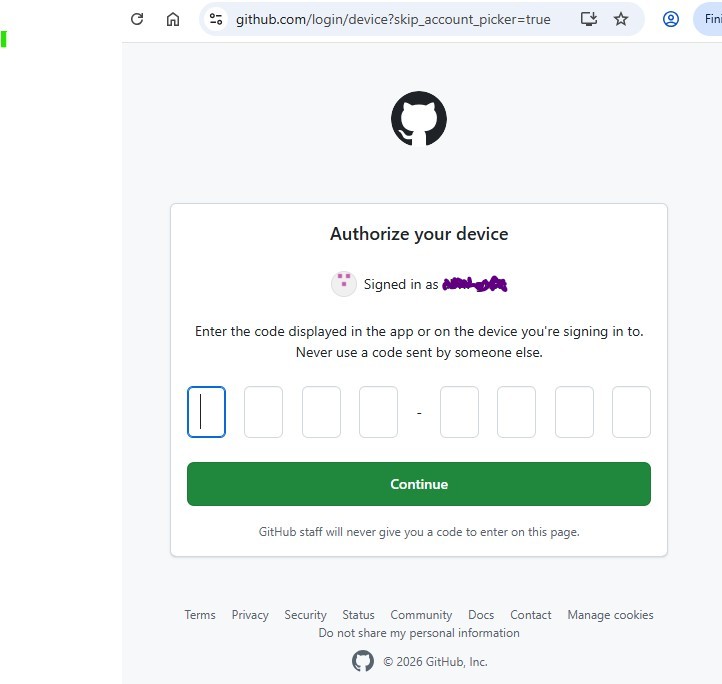
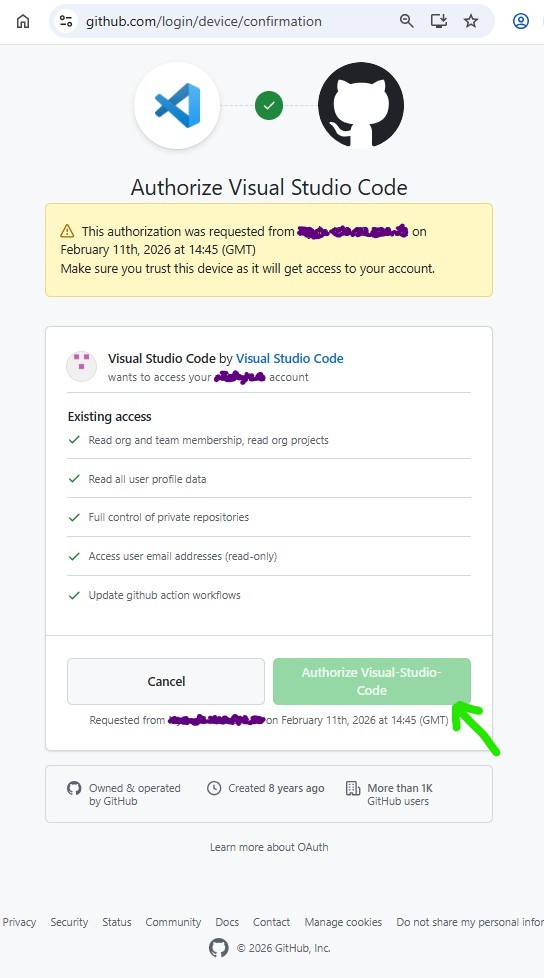
It will then present a URL and prompt you to open the URL in a browser, login to it using your account (Microsoft/Github) and authenticate using the code that is displayed and grant permission. Screenshots given below for reference:
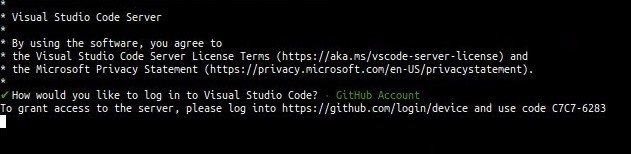
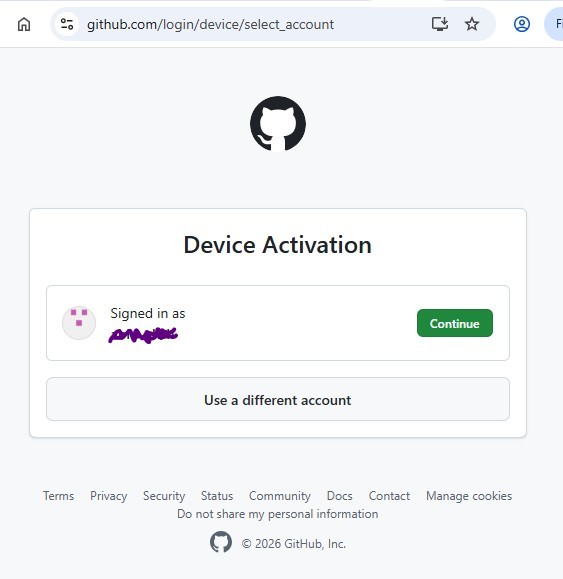
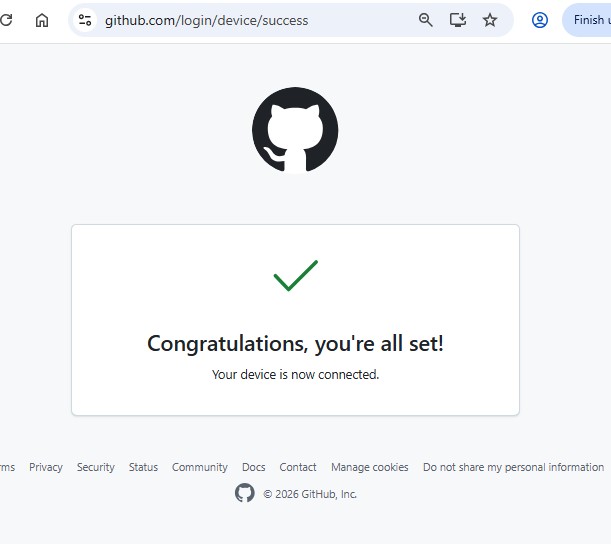
When the above part is completed, you will be then presented with a new URL.
STEP 3: Accessing the VSCode interface.
You need to copy the URL and open it in a web browser. Opening it in a browser will present you with the interface of Visual Studio Code that is running in the compute node of CSF3.
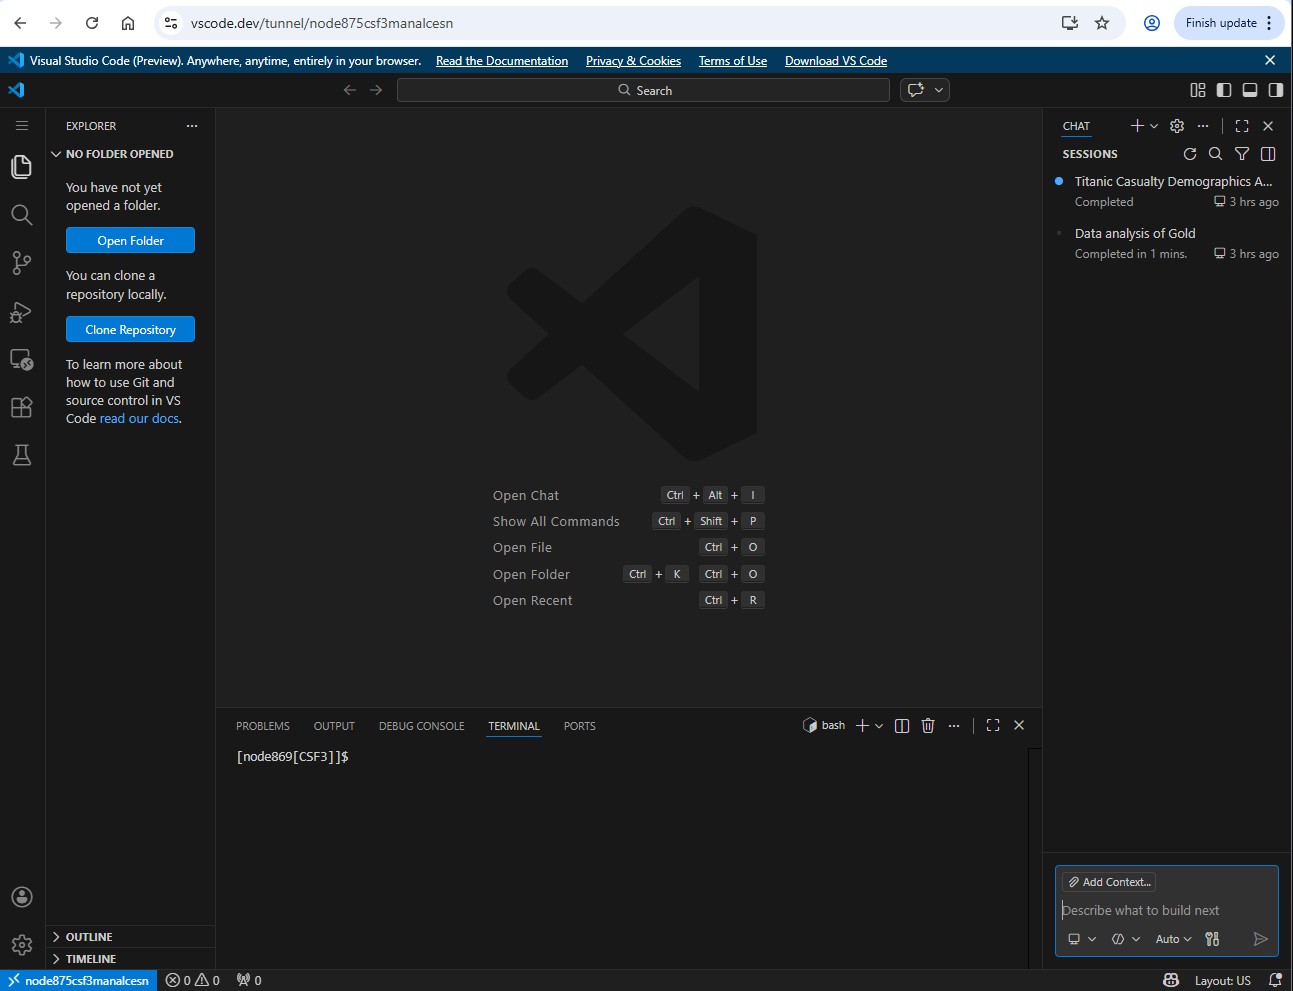
You can then create a new file and then select your python virtual environment that you created earlier as interpreter by pressing the keys Ctrl+Shift+P and then selecting the option: Python: Select Interpreter.
NOTE: You will need to install the Python Extension in VSCode to be able to do that.
It is also possible to use Jupyter Notebooks inside VSCode for your development. For this, you will first need to install Jupyter Notebook in your virtual environment and then also install Jupyter Notebook Extension in VSCode. Once those are set, reload VSCode and then you can press Ctrl+Shift+P and select the option: Create: New Jupyter Notebook. Remember to select the virtual environment as the interpreter by pressing the keys Ctrl+Shift+P and then selecting the option: Python: Select Interpreter.
Similarly, if you want to use GitHub Copilot you will need to install GitHub Copilot Chat Extension in VSCode.
Stopping VSCode server
Over the years, there has been changes in the way VSCode server process is stopped. Currently the ideal way is to save your files, then close the browser and finally cancel the job with scancel [jobid] command to stop the interactive job.
Using VSCode installed on your PC/laptop
We recommend that you install VSCode on your PC/laptop and use the Remote - SSH extension to connect VSCode to the CSF. You can then edit files stored on the CSF using your local copy of VSCode. This will give a better experience when using VSCode and allows you to install the latest version.
Older versions of VSCode do not work on the CSF – please use 1.90.2 or newer.
Acceptable Use
Please note that VScode can be used for code development on the CSF – it will give you access to the login nodes and your CSF files.
But you should not run your code for long periods of time within VSCode. Doing so runs you code on the login node. Production runs should be submitted to the CSF batch system outside of VScode, in the usual manner.
CPU-hogging VScode processes found running on the login nodes will be killed without warning.
Configure VSCode Before Connecting to the CSF – don’t follow symlinks
Please follow these instructions to configure your VSCode client BEFORE CONNECTING TO THE CSF FOR THE FIRST TIME – failure to do so can result in high system load on the CSF login node, which can result in the login nodes being slow for other users, and may require your login to be terminated.
- Open the
File > Preferences > Settingspanel (or use the shortcutCtrl+,).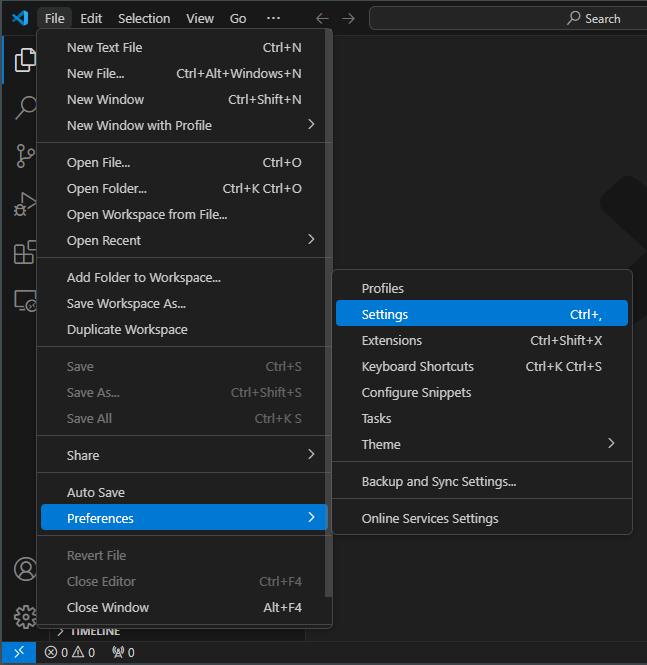
- In the search bar at the top, enter the following string:
search.follow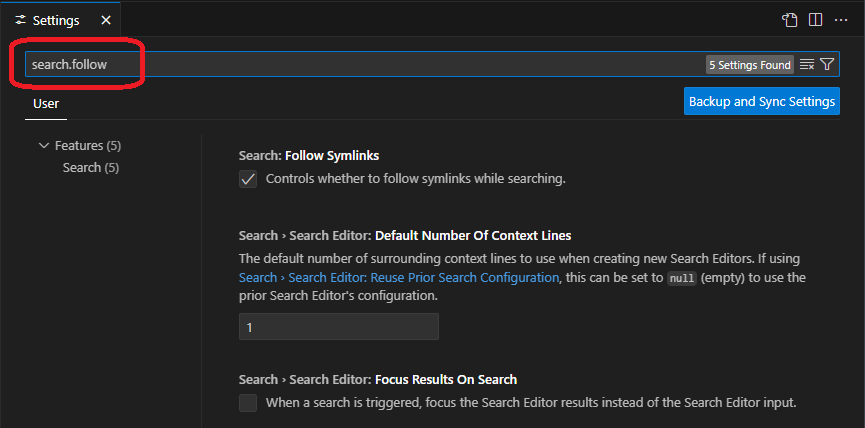
- UNTICK the
Follow Symlinksoption. This will reduce the amount of file search that VSCode performs on the CSF login node.

You can then close the settings tab and proceed with the steps below to install the Remote SSH extension.
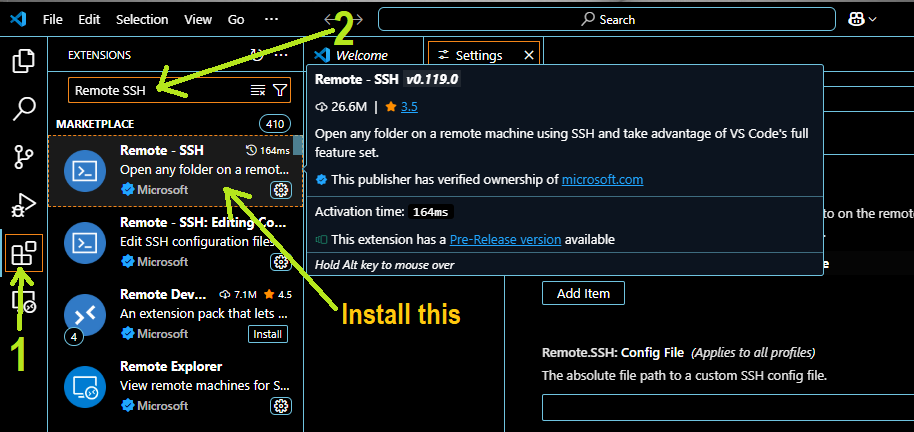
Installing the VSCode “Remote – SSH” extension on your PC/Laptop
You must install the Remote - SSH extension in to your local copy of VSCode on your PC/laptop.
Setting up the connection to CSF for the first time using “Remote – SSH” extension
-
Once Remote SSH Extension is installed ensure that the following are ticked/set in the
Remote SSH extension settings: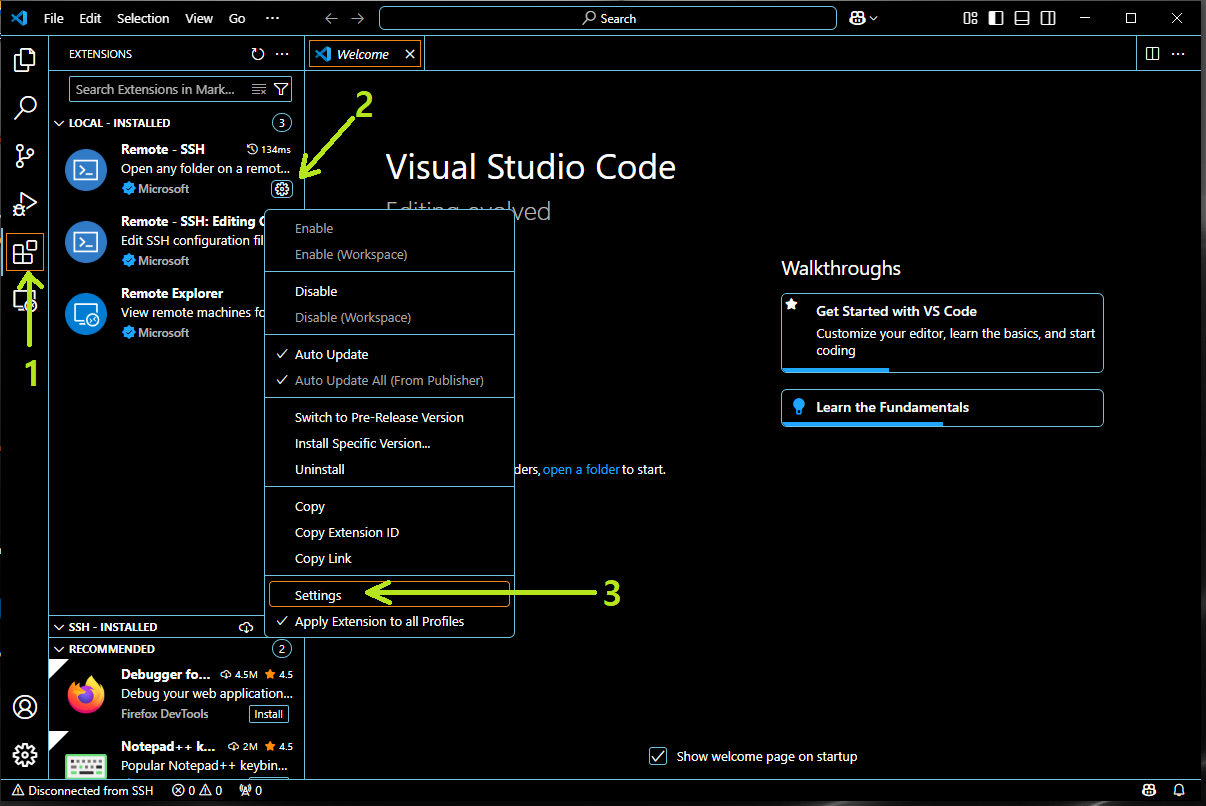
# Tick / enable the following options
Remote.SSH: Enable Agent Forwarding
Remote.SSH: Enable Dynamic Forwarding
Remote.SSH: Enable X11 Forwarding
Remote.SSH: External SSH_ASKPASS
Remote.SSH: Local Server Download -- Set to 'off' in the drop-down menu
Remote.SSH: Show Login Terminal
Remote.SSH: Use Flock
Remote.SSH: Use Local Server
-
Next you need to setup the remote host CSF3.
Hit F1 in your keyboard and select
Remote-SSH: Connect to Host...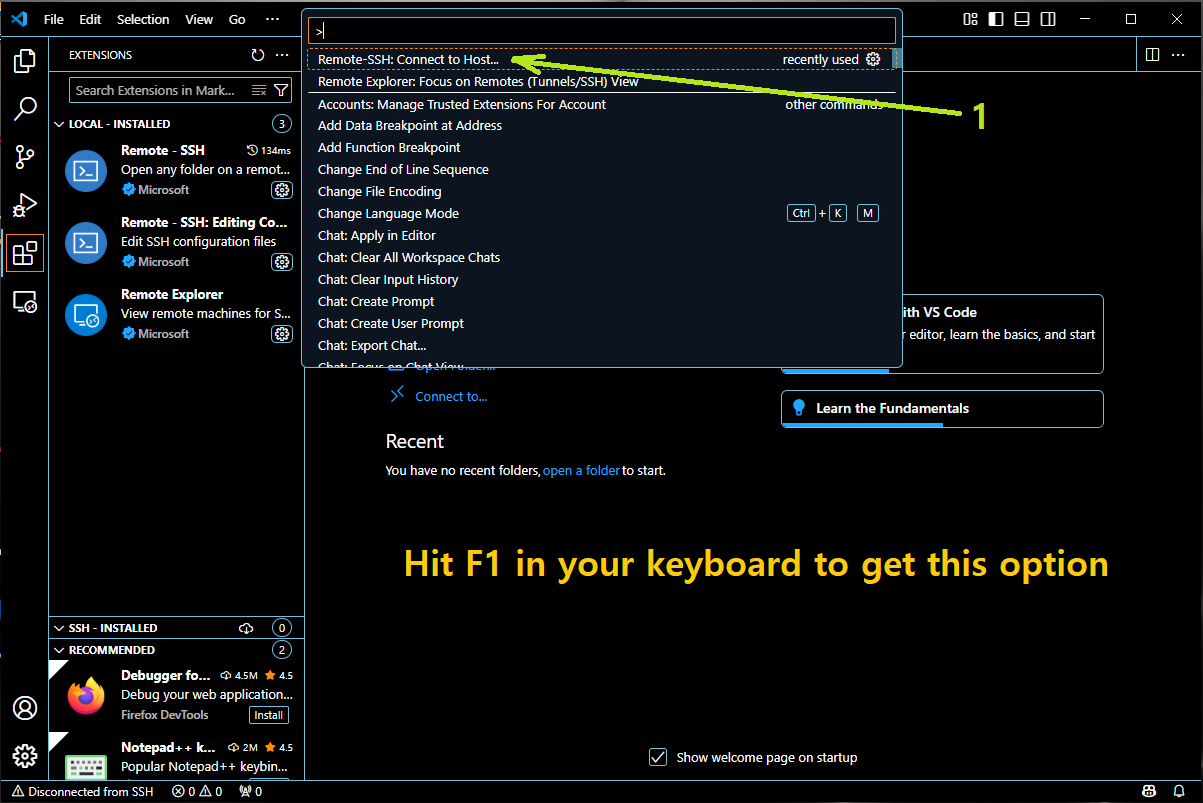
Then select
+ Add New SSH Host...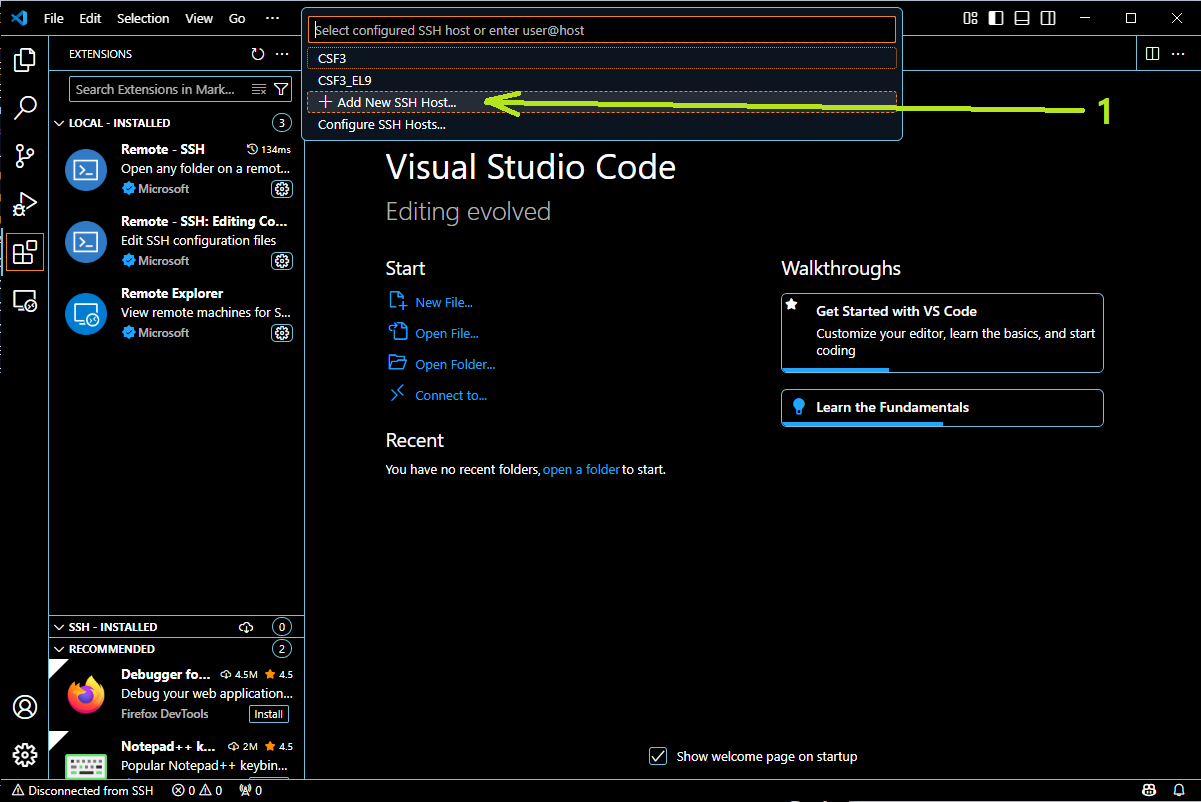
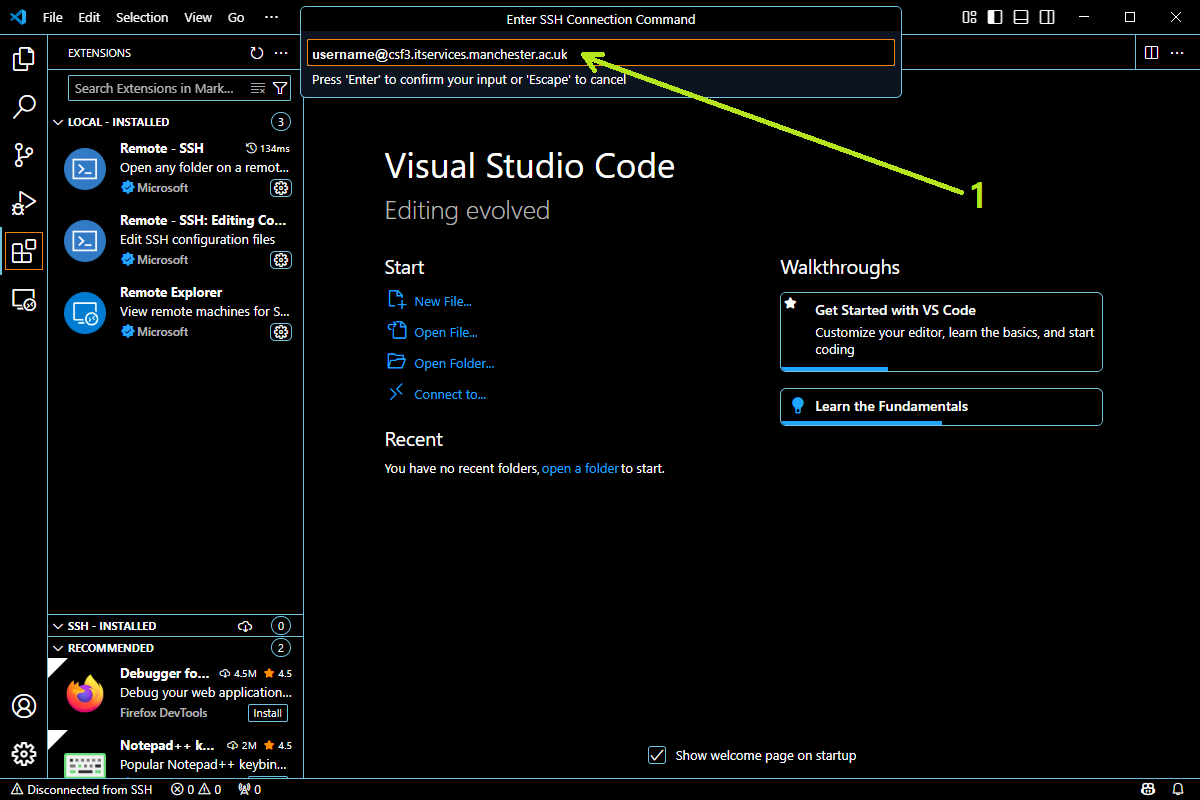
Type:
<username>@csf3.itservices.manchester.ac.ukunder ‘Enter SSH Connection Command’📝Note: Please use your IT Username, not your email username.
-
Connecting to the CSF. Once you have defined the remote host, you are ready to connect to the CSF.
Hit F1 in your keyboard and select the remote host that you have defined.
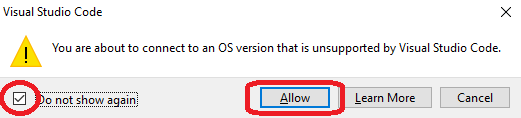
In the next screen select
Linuxfrom the list:
In the next screen type your password and then hit enter. Next complete the Duo authentication.
NOTE: The CSF password and DUO 2FA prompt will appear in the Login Terminal window inside VSCode. You must ensure you have ticked
remote.SSH.showLoginTerminalas shown in the step 1. above under Setting up the connection to CSF for the first time using “Remote – SSH” extension.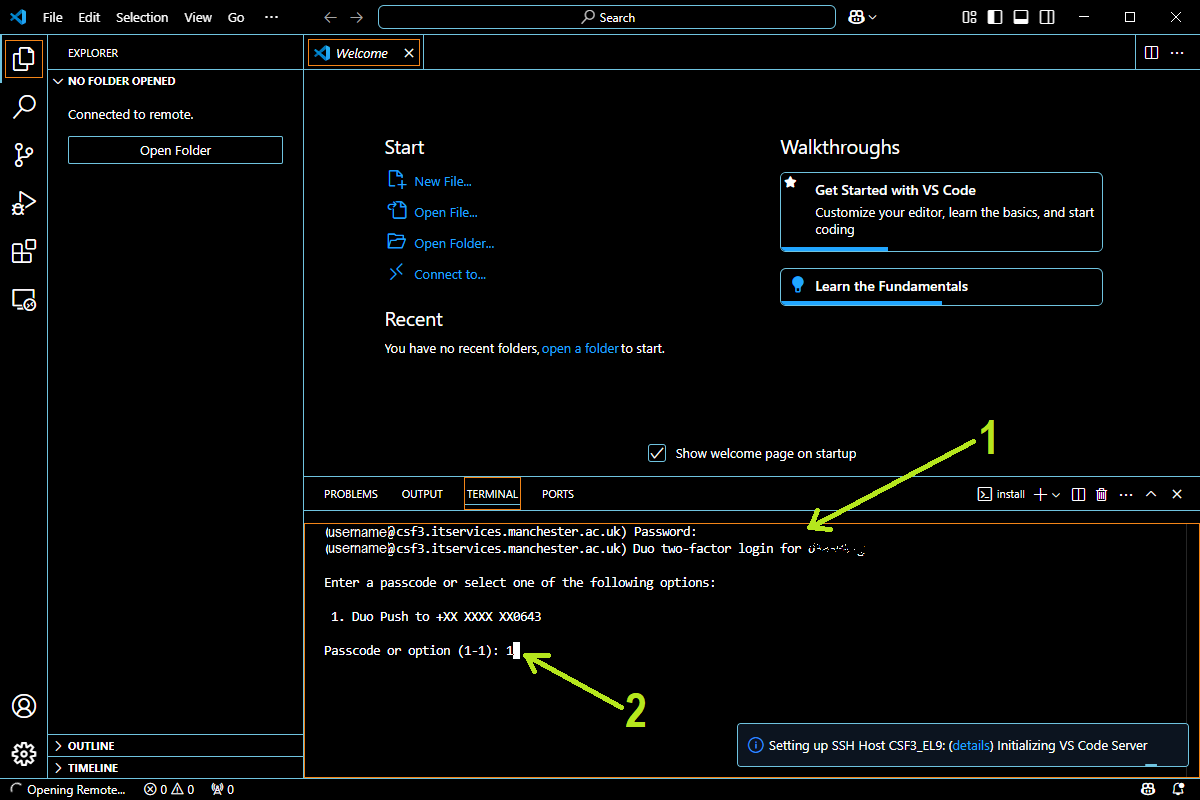
If you have followed the steps correctly, VSCode will install server package within your home directory in CSF under the folder
~/.vscode-server. It will take some time for the installation to complete and this installation part will be done only on the first time you are connecting to CSF using VSCode. When the set up is complete, you will see something like this in the screen and the last line will say: end. This confirms that your setup and connection was successful.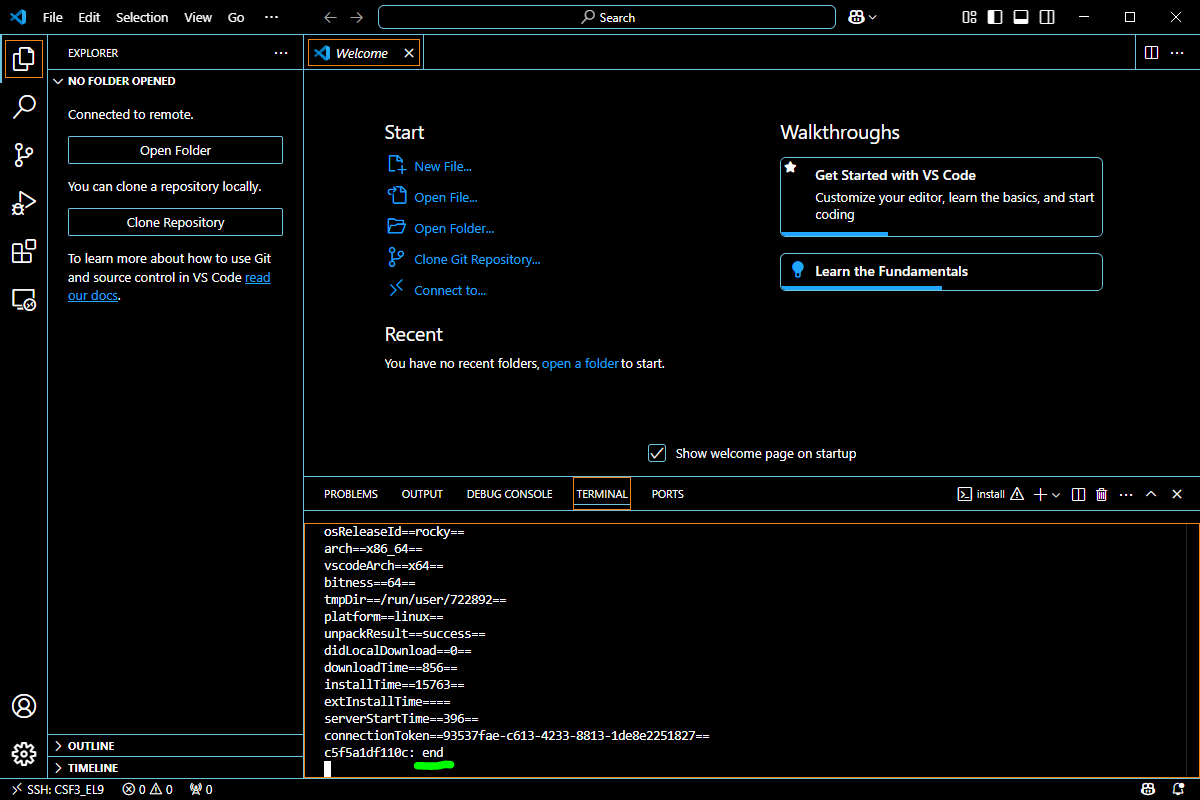
-
Next time just follow the step 3. Connecting to the CSF onwards to connect again.
Once connected, you can open a new terminal to work in CSF directly from VSCode by selecting:
+ > New Terminal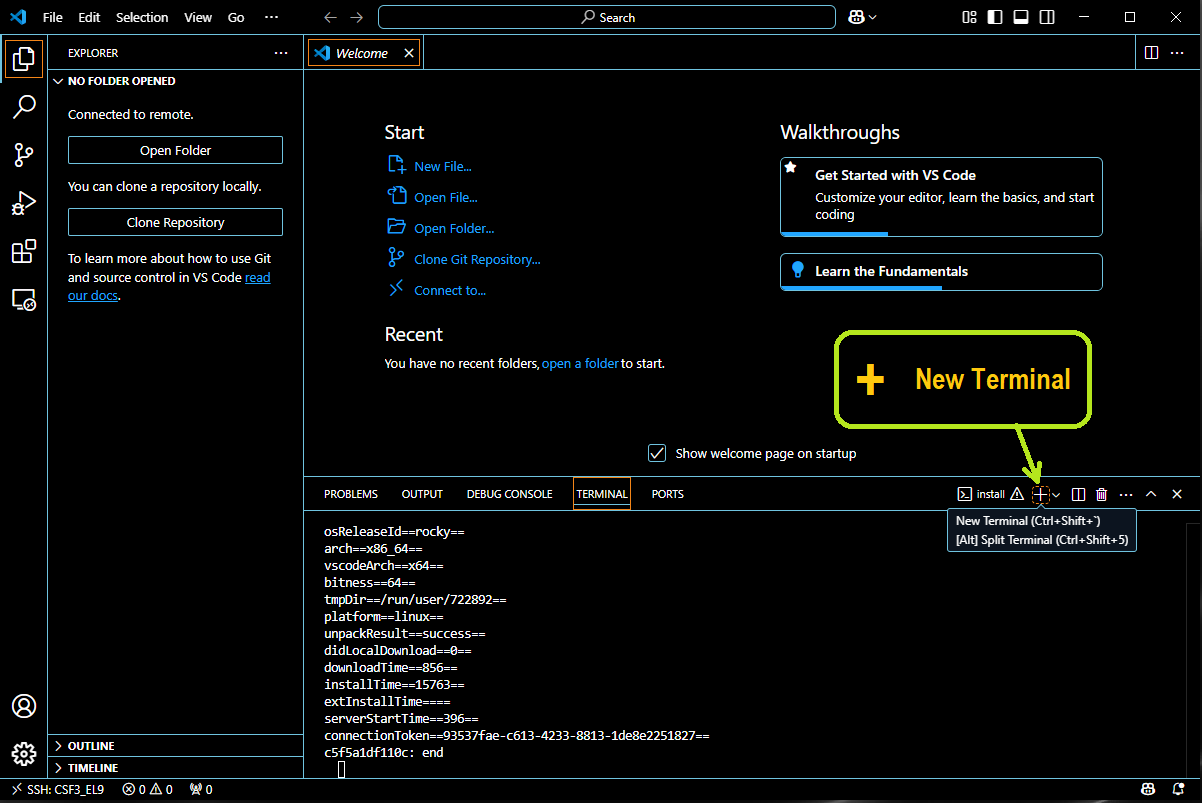
The new terminal will show you login prompt of CSF like this:
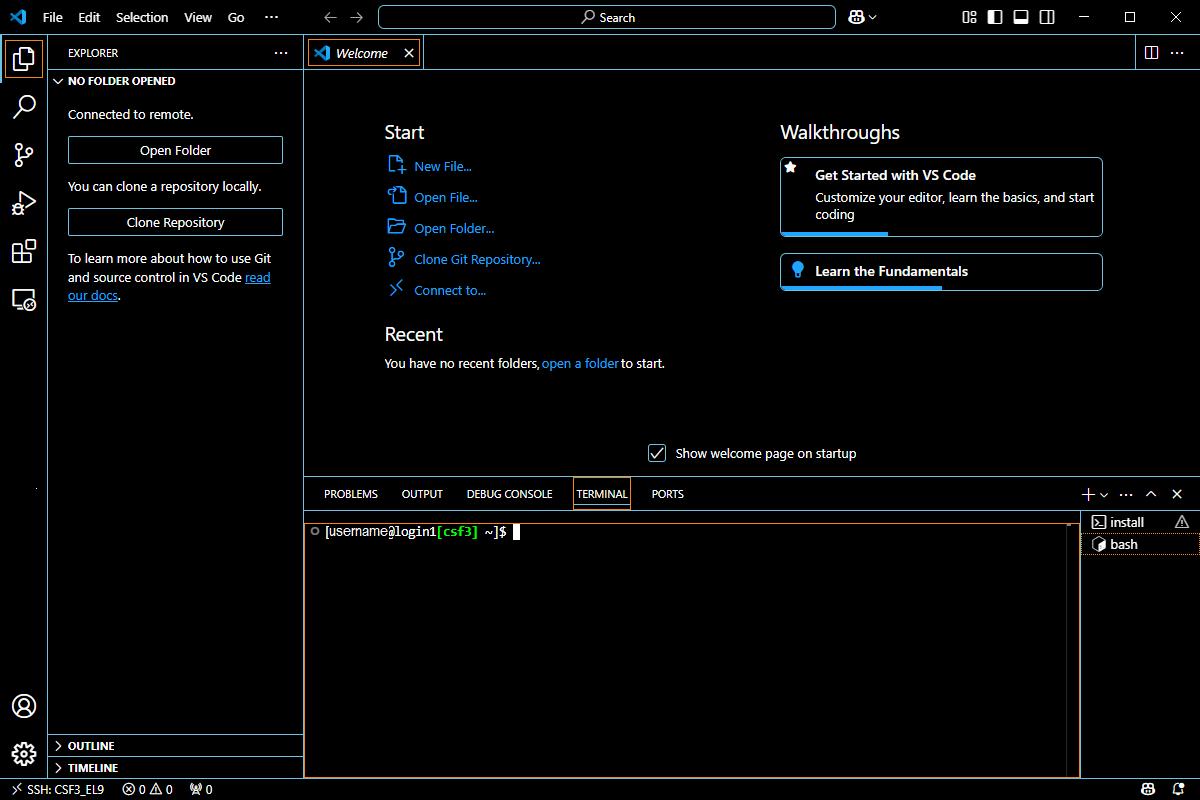
-
Troubleshooting tip for user migrating from old to new CSF3:
If you have any previous installation of VSCode Remote SSH Extension in old CSF3 and are trying to install the VSCode like this in the new CSF3, you should first delete/rename the old
~/.vscode-serverfolder in your home directory.
Further info
Updates
None.