
Mac x2goclient Setup Guide
This guide explains how to configure the x2goclient on your Mac desktop to set up a connection to our X2GO remote desktop servers.
Please click on the images below to enlarge them.
Current servers
You should now connect to either of the following identical servers
nyx5.itservices.manchester.ac.uknyx6.itservices.manchester.ac.uknyx7.itservices.manchester.ac.uk
The servers nyx5, nyx6 and nyx7 are identical (and have a fast connection to the iCSF). They all use the MATE desktop environment (instead of GNOME). See below for how to set up a session.
If on-campus you will have to authenticate using your UoM 2-Factor Authentication (2FA) device e.g. Duo Mobile app or Duo fob.
To support DUO 2FA you must also make sure you are using at least version 4.1.1.1 of the x2go client. (See Start an X2GO session for more information)
Install and configure XQuartz
- If you don’t already have XQuartz installed, please install the latest version from http://xquartz.macosforge.org
- Open the downloaded XQuartz-VER.pkg file (current version is 2.8.5, the image below may show an older version) and double-click on the pkg file to run the installer
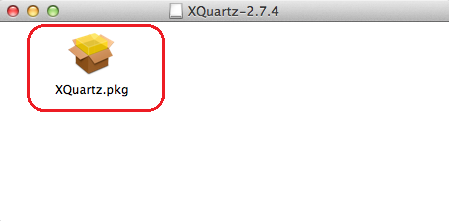
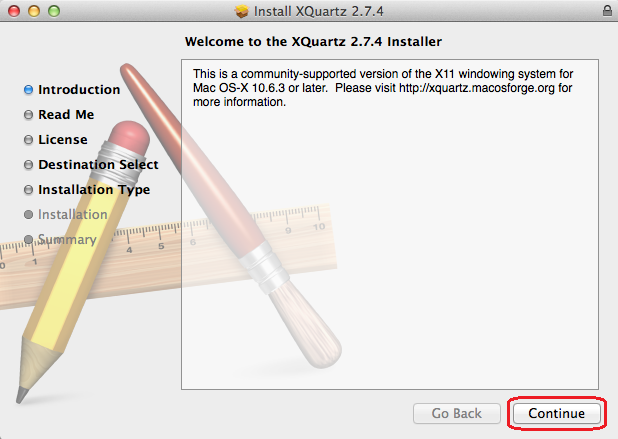
Please note that if the GateKeeper software prevents you running the app because it has been downloaded outside of the App Store, try control-clicking on the icon and select “Open” to run it. For further info please see the following Apple Support page. - Simply accept each page of the installer, including the license, to install XQuartz
Install and configure X2GO Client for your Mac
- Please download the latest X2GO client for MacOS.
- Install the X2GO client as per the instructions on the download page. Accept all of the default options. Please note that if the GateKeeper software prevents you running the app because it has been downloaded outside of the App Store, try control-clicking on the icon and select “Open” to run it. For further info please see the following Apple Support page.
- Reboot your Mac. Yes, this is generally needed after installing XQuartz and the X2GO client. It solves most login problems (user have reported error messages about not being able to start the X2GO Agent – a reboot fixed it.) If requesting help after installing X2GO on your Mac, please include in your request whether you have rebooted at this stage or not.
- After the install and reboot, run the X2GO client from the dock icon or Go > Applications menu in the finder. You should get an X2GO Session Preferences window ready to set up a new connection to the Virtual Desktop Service (please click on the images to enlarge them). You can connect to
nyx5.itservices.manchester.ac.ukand alsonyx6, nyx7(they are identical). Note that if you have already set up a connection and wish to edit the settings, please see the image below for how to edit an existing session.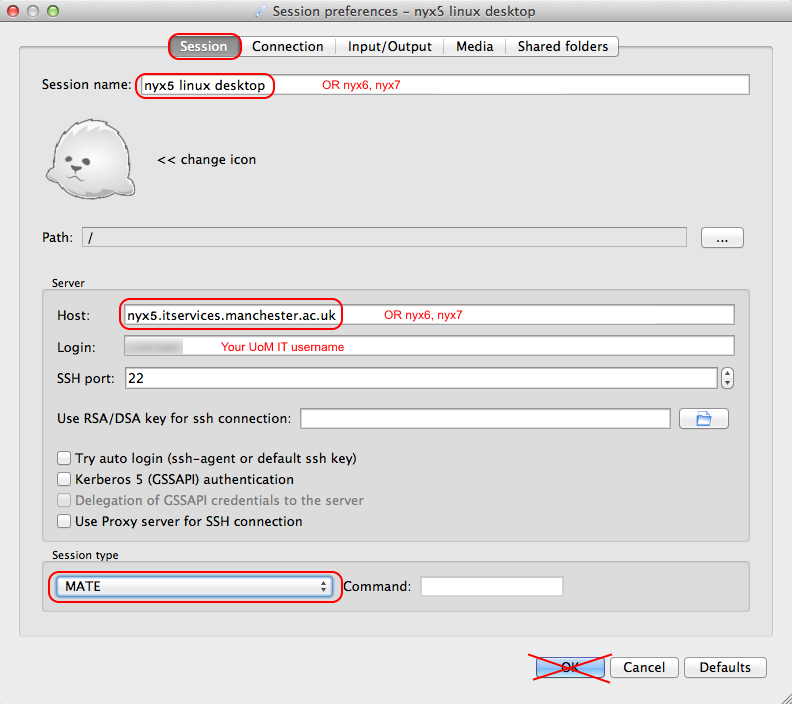
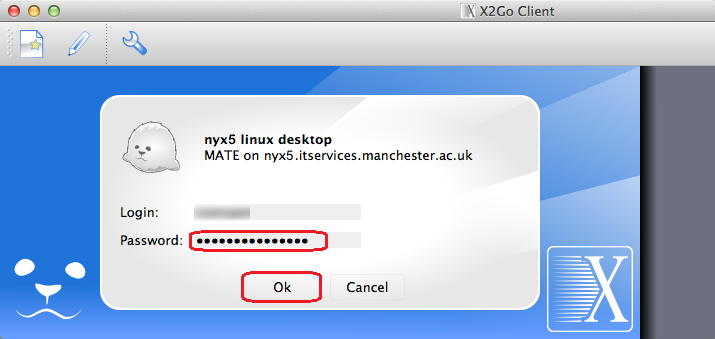
Give the session a name — e.g.,nyx5 linux desktop(ornyx6 linux desktopornyx7 linux desktop) - Set the host to be one of the following:
nyx5.itservices.manchester.ac.ukORnyx6.itservices.manchester.ac.uknyx7.itservices.manchester.ac.uk
- Set the login to be your central University username.
- Set the Session type to be MATE for use with nyx5 and nyx6 and nyx7.
- If not visible in your menu choose
customfrom the menu and set thecommandto be/usr/bin/mate-session)
- If not visible in your menu choose
- DO NOT select OK just yet. DO select the Connection tab.
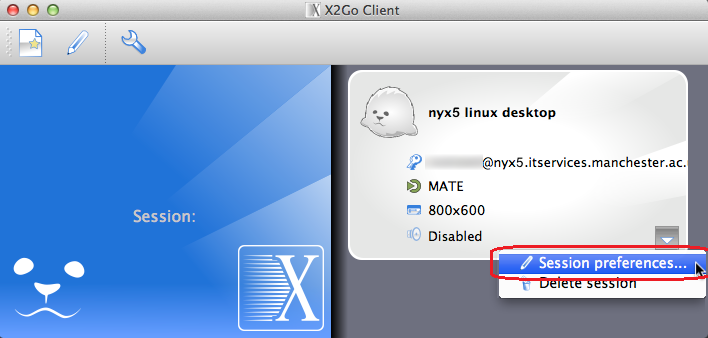
- NB: If you do press Return or select OK then you can re-open the session preferences editor by selecting
Session preferences...from the pull-down menu (small arrow) in the session box:
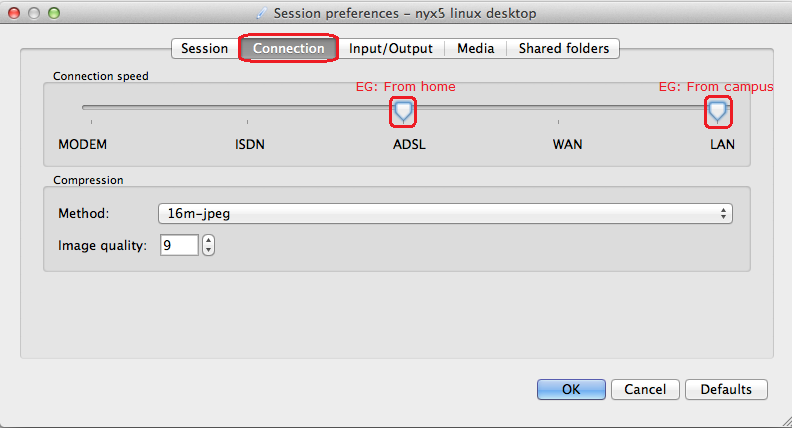
Change the slider to match your connection speed. If working at home keep it on
ADSL. If using the linux desktop to access the GPUs in the iCSF then increase the speed to get full interactive framerate for graphical applications. - NB: If you do press Return or select OK then you can re-open the session preferences editor by selecting
- DO NOT select OK just yet. DO select the Input/Output tab.
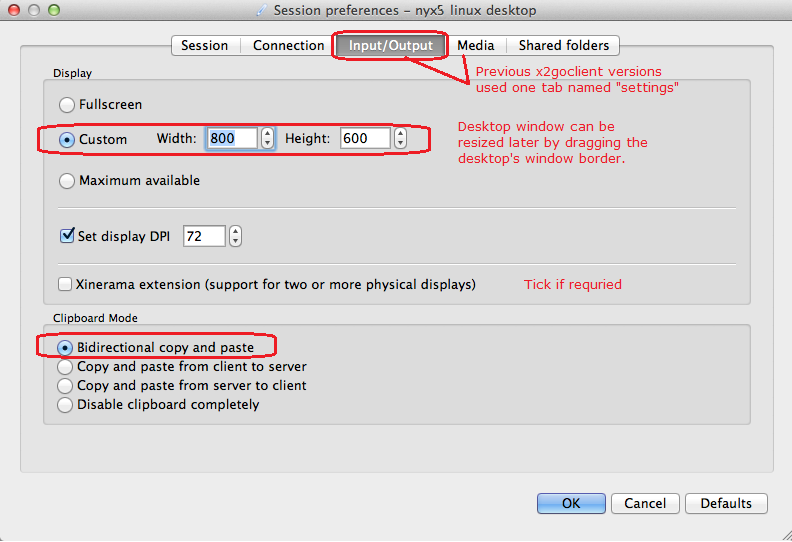
- Adjust the size of the virtual desktop you require. This is just the initial window size. The virtual desktop window can be resized later by dragging the window borders, just like any other window.
- The MacOSX version now automatically detects your keyboard settings.
- If you have the media tab available then turn off sounds and printing there. Otherwise those settings will be in the above tab (in older clients).
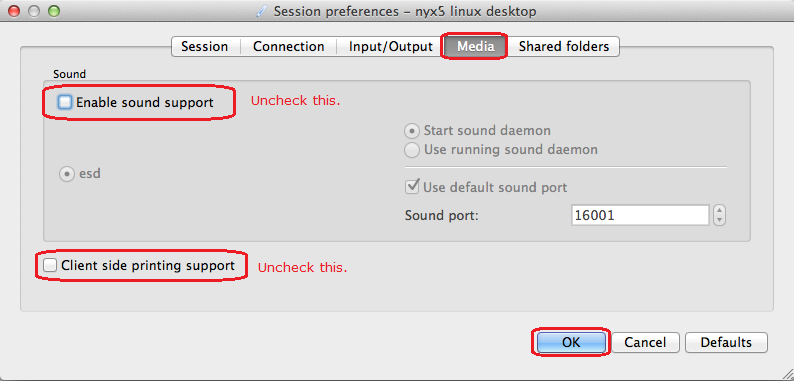
- Disabling sounds support and printing will increase performance, but this is optional.
- Hit
OKto finish setting up your connection. Proceed with the steps below. You don’t need to exitx2goclient.
Start an X2GO session
- If you’ve not already got the X2GO client running then run it from the desktop icon or from the Start Menu. You’ll now see your session created earlier in the main X2GO session list window
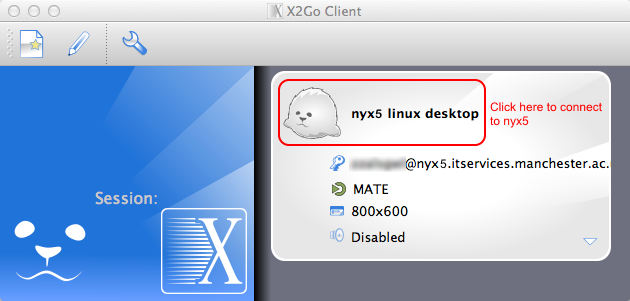 From the list select the session name you gave it (e.g.
 nyx5 linux desktop) - Enter your central University password when asked and select OK.
Off-campus
If logging in from off-campus you will first need to be connected to the University VPN (GlobalProtect) – You may already connect to the University VPN in order to access your email.
- University managed laptops already have the GlobalProtect software installed. You can also download it and run it on your home PC/laptop.
- If not already installed, please install the IT Services VPN Software (GlobalProtect) on your home PC/laptop.
- This facility is provided by IT Services (not Research IT). Requests for help with the VPN and/or GlobalProtect should be made to via the Support Portal.
On-Campus
If on-campus and not connected to the University VPN you will need to authenticate using your 2FA device.
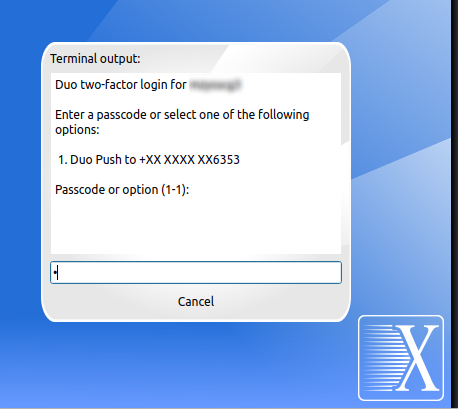
- If you use the Duo mobile app as your 2FA device, Enter ‘1’ in the text box and press enter (text input will appear as a dot/s). Once the push notification has been received via the Duo Mobile app ‘Approve’ the request in order to log on.
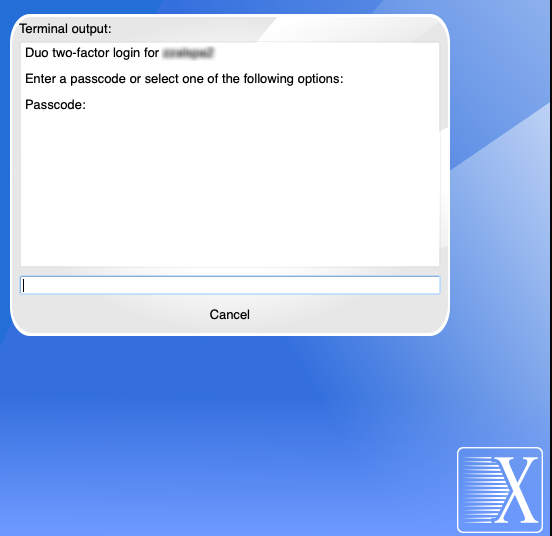
- If you use a Duo fob as your 2FA device, generate a passcode with the fob, type the passcode into the text box and press Enter (text input will appear as a dot/s).
- If connecting for the first time you will be asked to accept the
nyx5ornyx6host key.
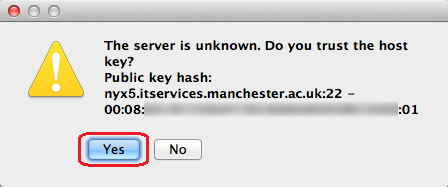
It is safe to do so – selectYes.- If connecting to nyx5 using a session saved prior to the February 2019 upgrade you will be warned the host key has changed:
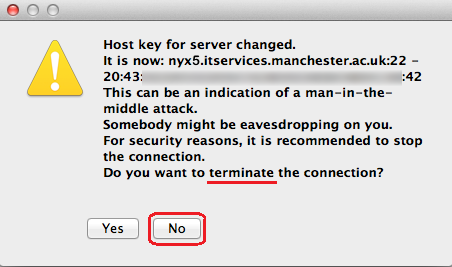
You should select No because we want to proceed! - You will now be asked to accept the new nyx5 host key:
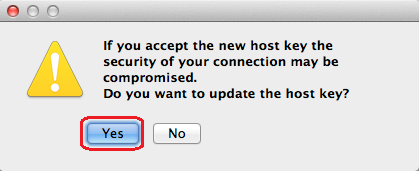
It is safe to select Yes to accept the new nyx5 host key.
- If connecting to nyx5 using a session saved prior to the February 2019 upgrade you will be warned the host key has changed:
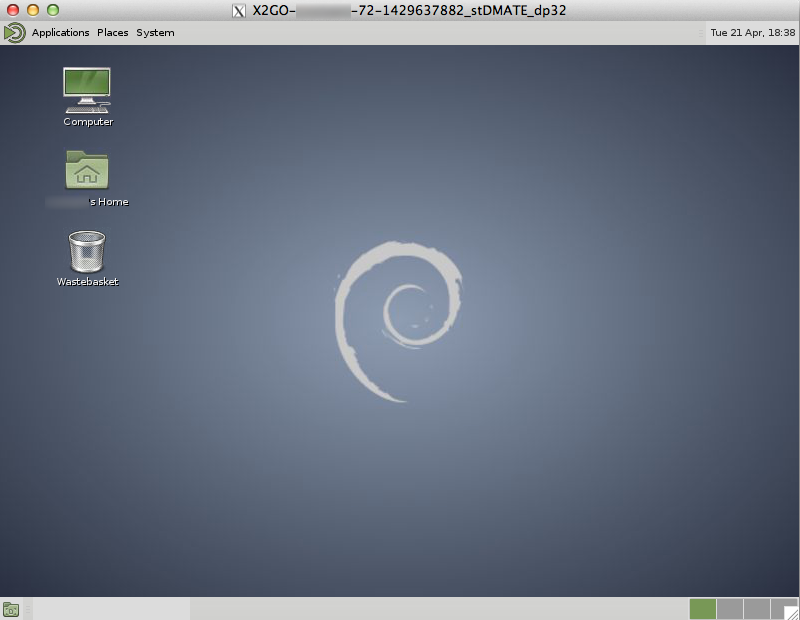
- A new window should open giving you a linux desktop on
nyx5ornyx6ornyx7.
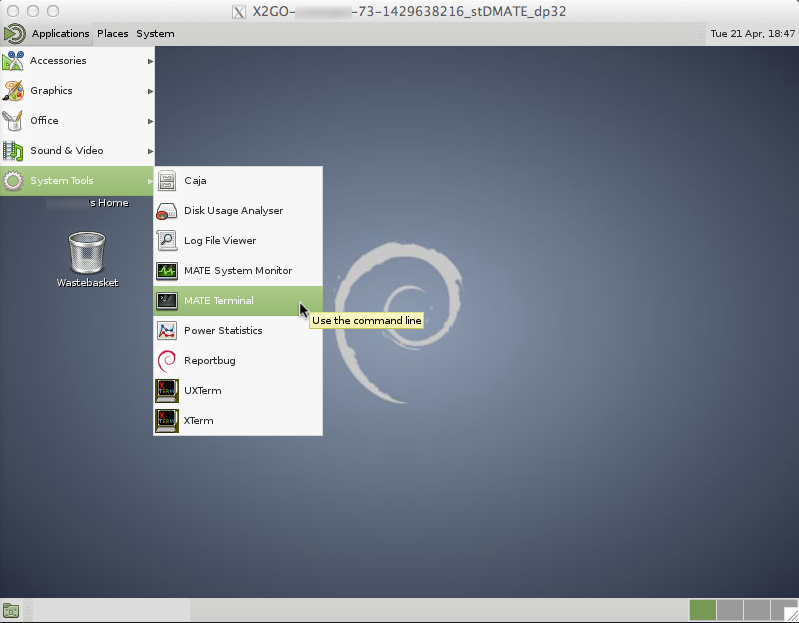
- To open a terminal window on the desktop, from which you can log in to, select from the Applications / System Tools / MATE Terminal menu
- That’s it! You are now logged in to the Virtual Desktop Service.
- To log in to the CSF, run the following command in the MATE terminal window:
ssh csf3
(enter usual IT password when asked)
To log in to the iCSF (incline), run one of the following commands in the MATE terminal window:
ssh incline256
(enter usual IT password when asked)

# Can access other iCSF nodes using:
ssh incline2000
ssh incline
- See the example usage guide for more on how to log in to systems such as the CSF and iCSF from here. The Logging in and Out section describes the two options available when you want to end your session on the virtual desktop (the difference between suspending your session and terminating your session).